

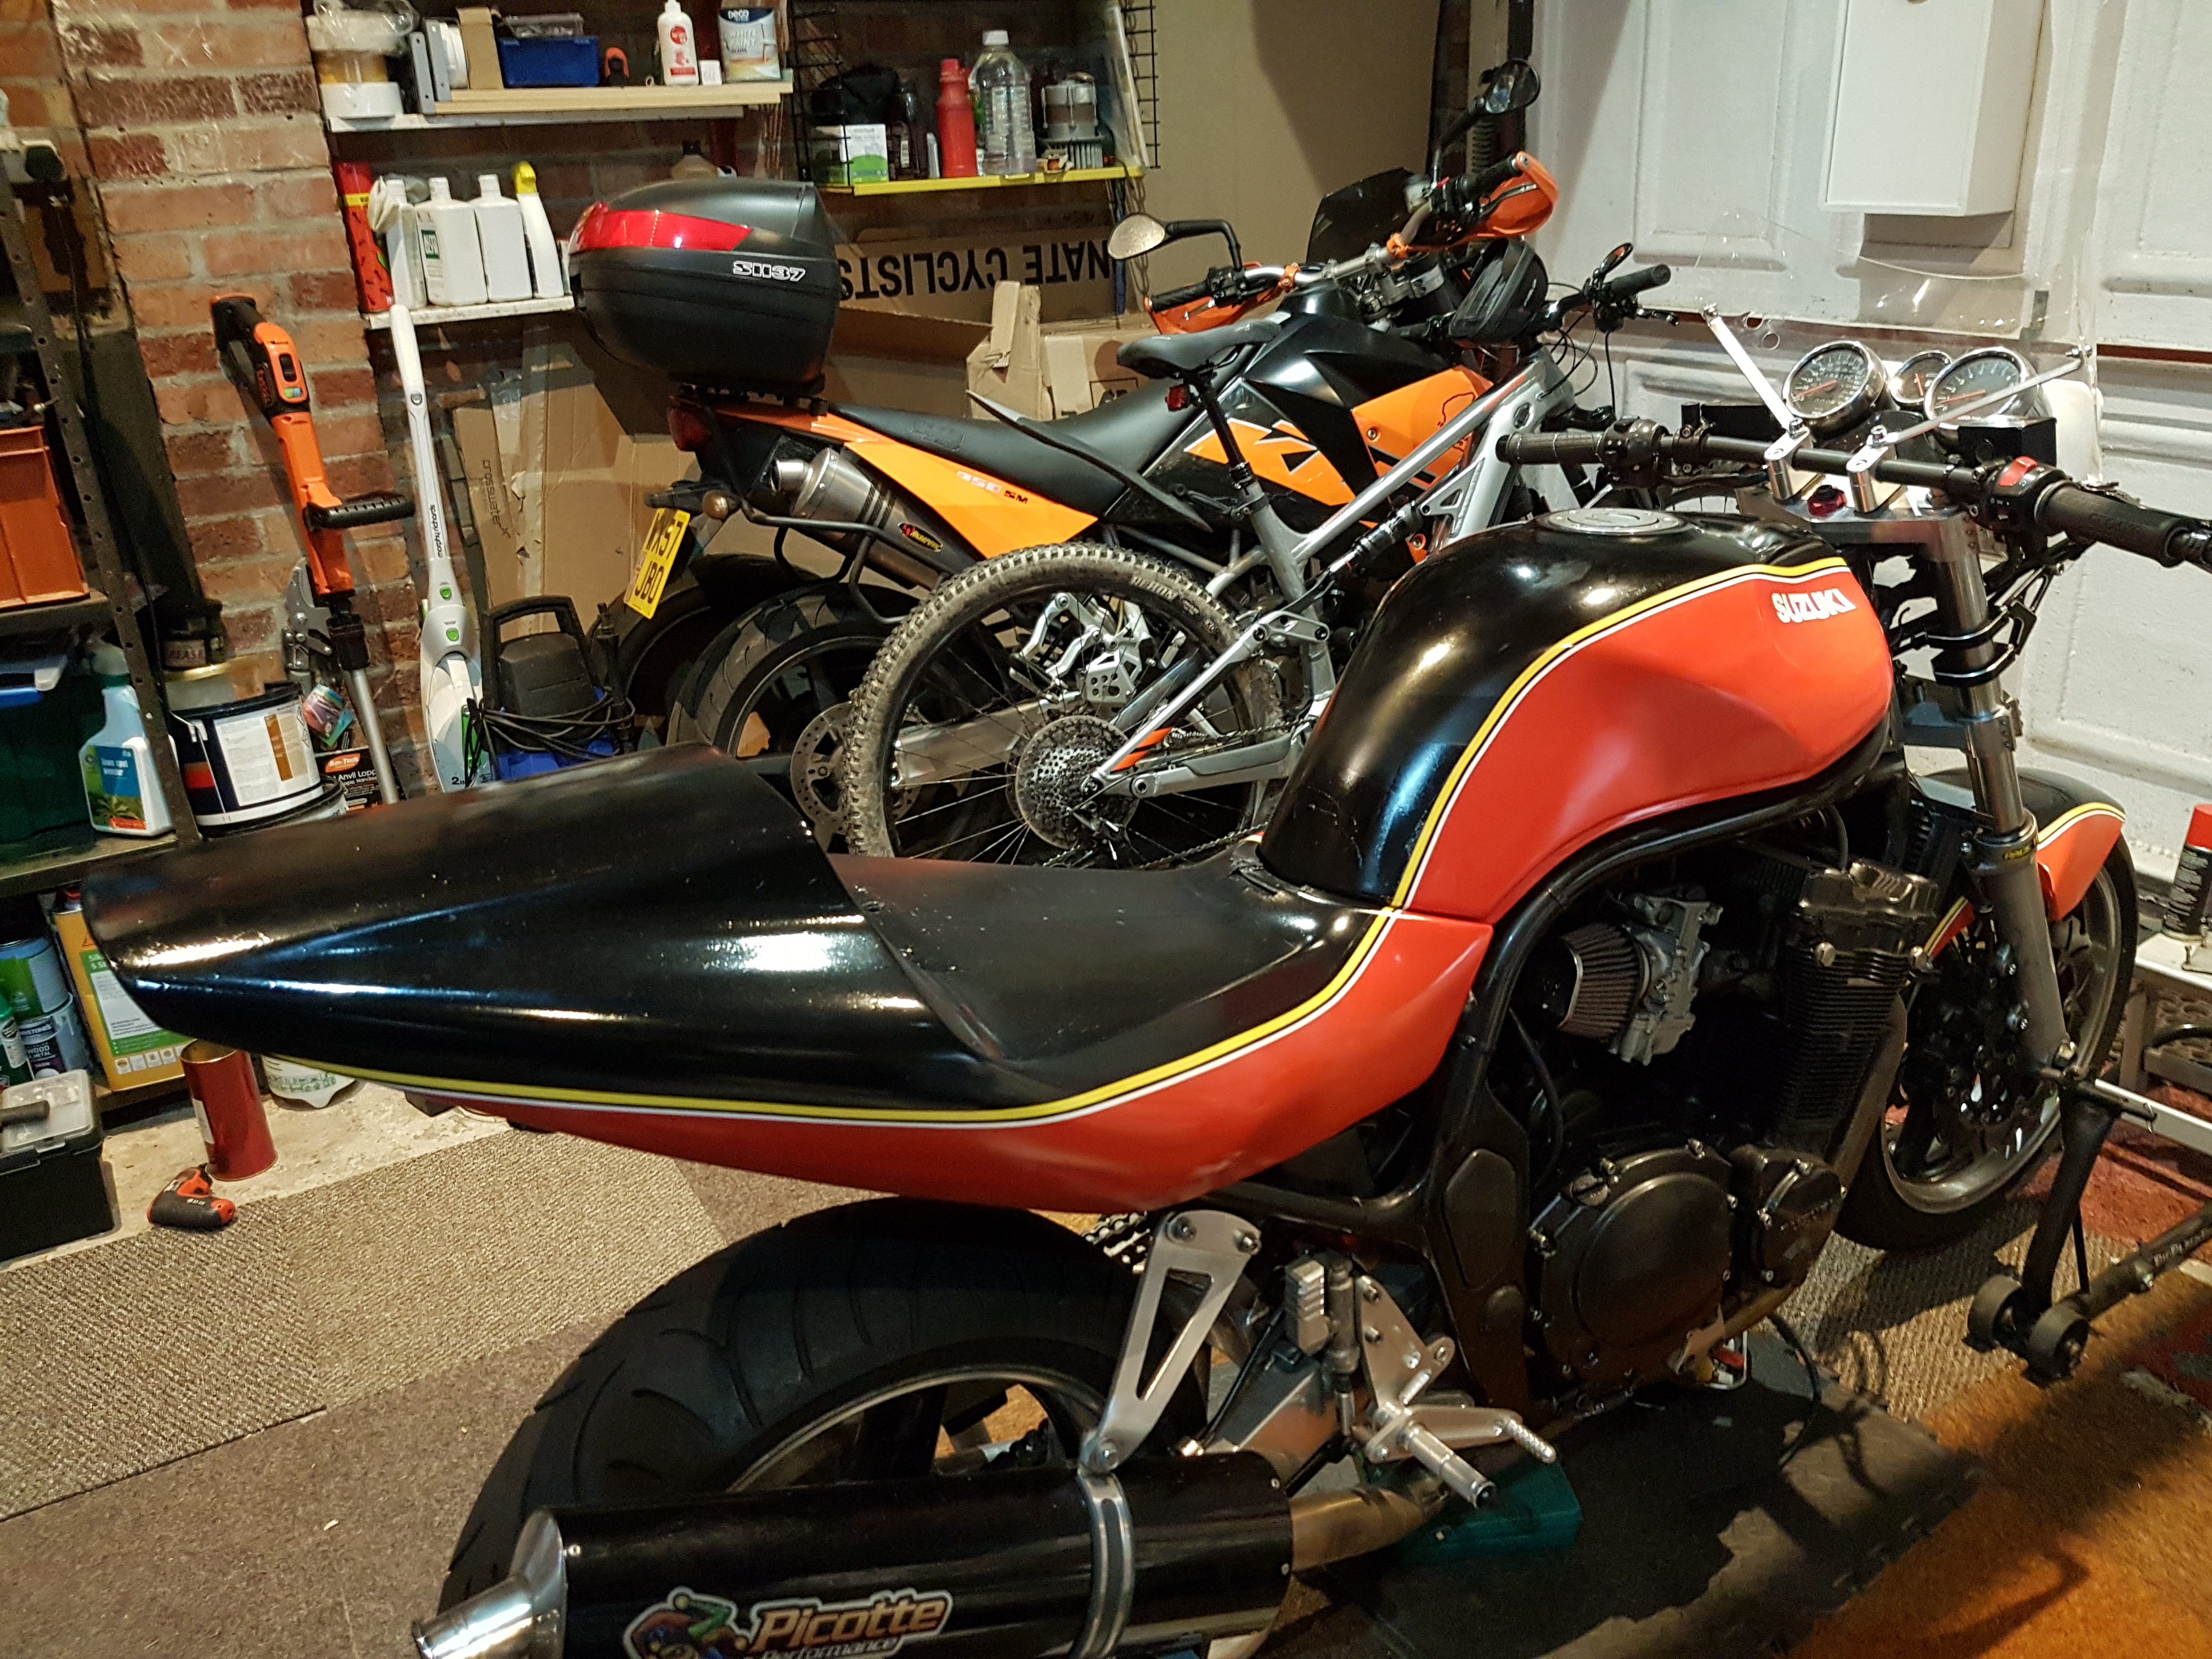
This is the progress so far on the bodywork. The colour scheme is period Suzuki red/black with yellow and white pin striping, in line with the original concept.

I’ve used rattle cans, which are far better than they used to be, with just a bit or ‘orange peel’ to polish off.
A proper professional paint job would be £100’s, which would undoubtedly be better and probably sensible on a newish bike.

However, many years ago one of my mates hand painted a car, and made a great job of it (after much polishing).
If you look carefully at many even new cars, the paintwork is far from perfect (I used to manage a 1st Tier supplier of painted body parts). If you’re being very picky.
You have to wait 15 mins in between coats to get the paint to cure properly and quickly, and use good quality masking tape to get sharp lines.
This time of year you need to heat the workshop to avoid blooming, in particular heat the parts being painted.
Preparation is also key.
I’m very much an amateur painter, so if concerned get advice from someone with more experience.
After the decals, all the parts are being clear laquered to protect them, and improve the finish.

The white area for a race number doesn’t meet ACU regulations, as it’s not upright, flat or deep enough, it’s just for the look.
If you’re building a race bike, you’ll need to fit a bikini fairing or number boards either side of the seat etc for the race numbers.

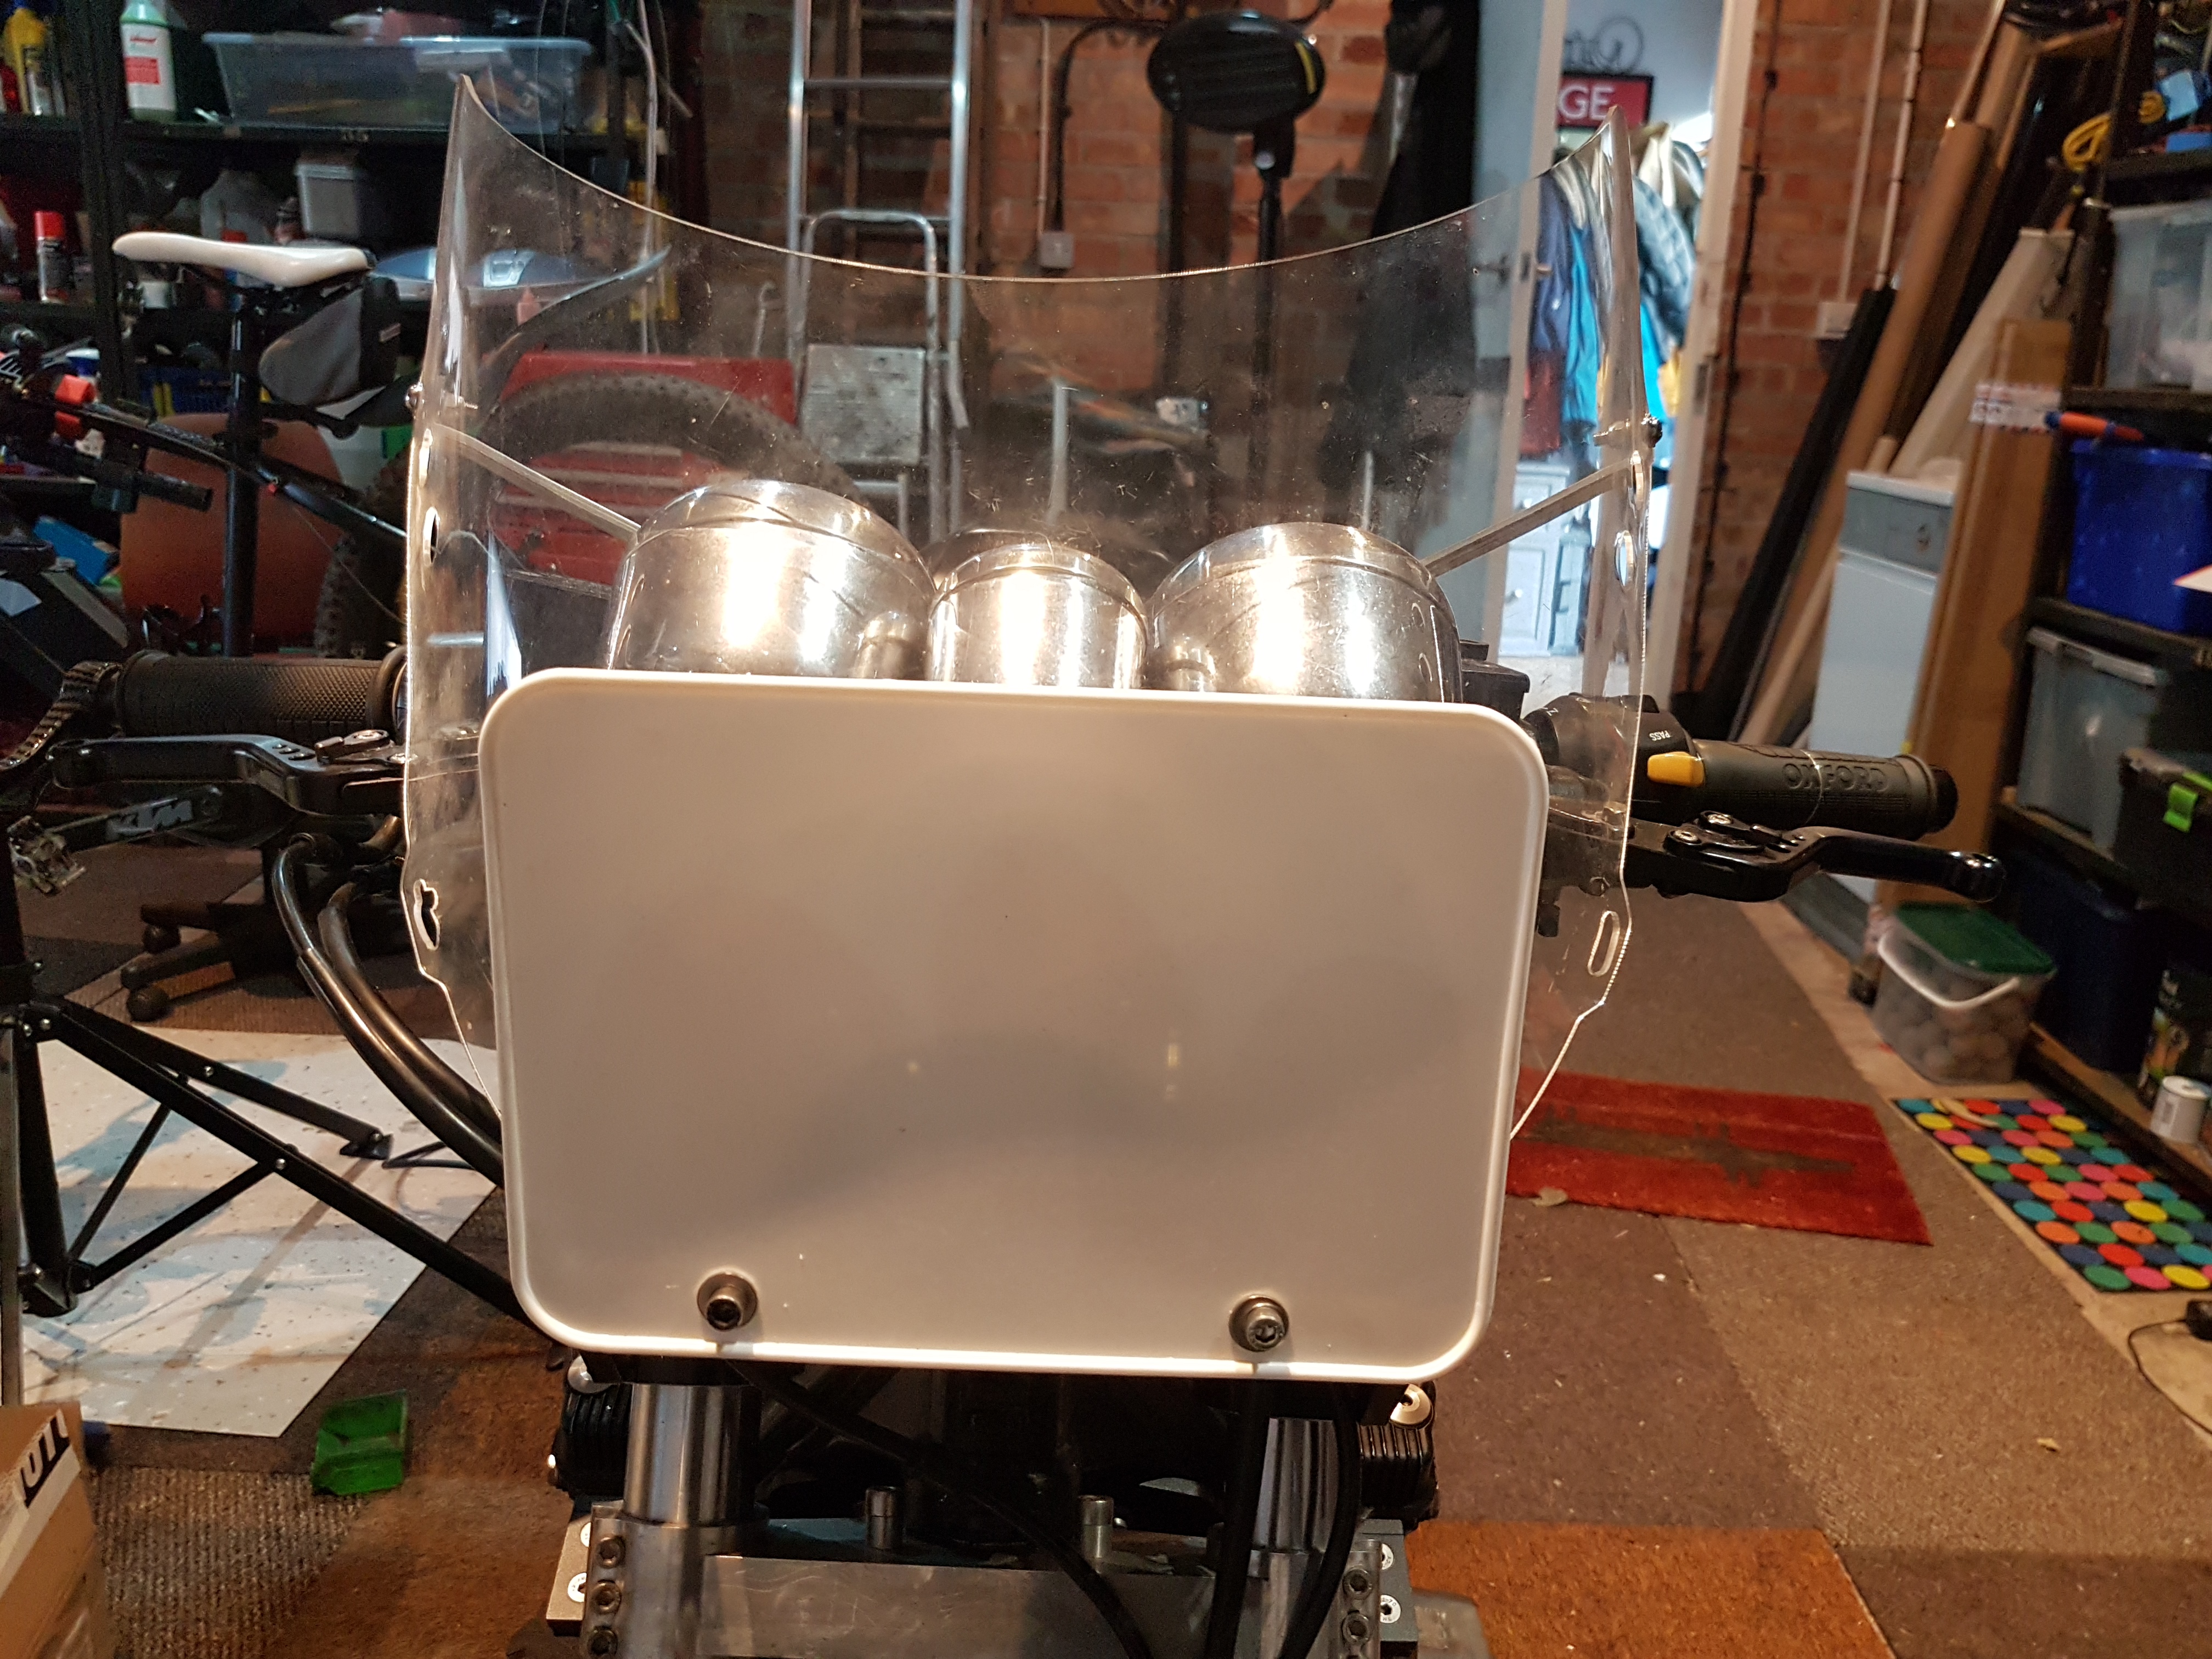
I’ve fitted a front number plate, with a race screen fitted behind it, which should make it a bit easier on the arms and neck at high speed, which you can see above
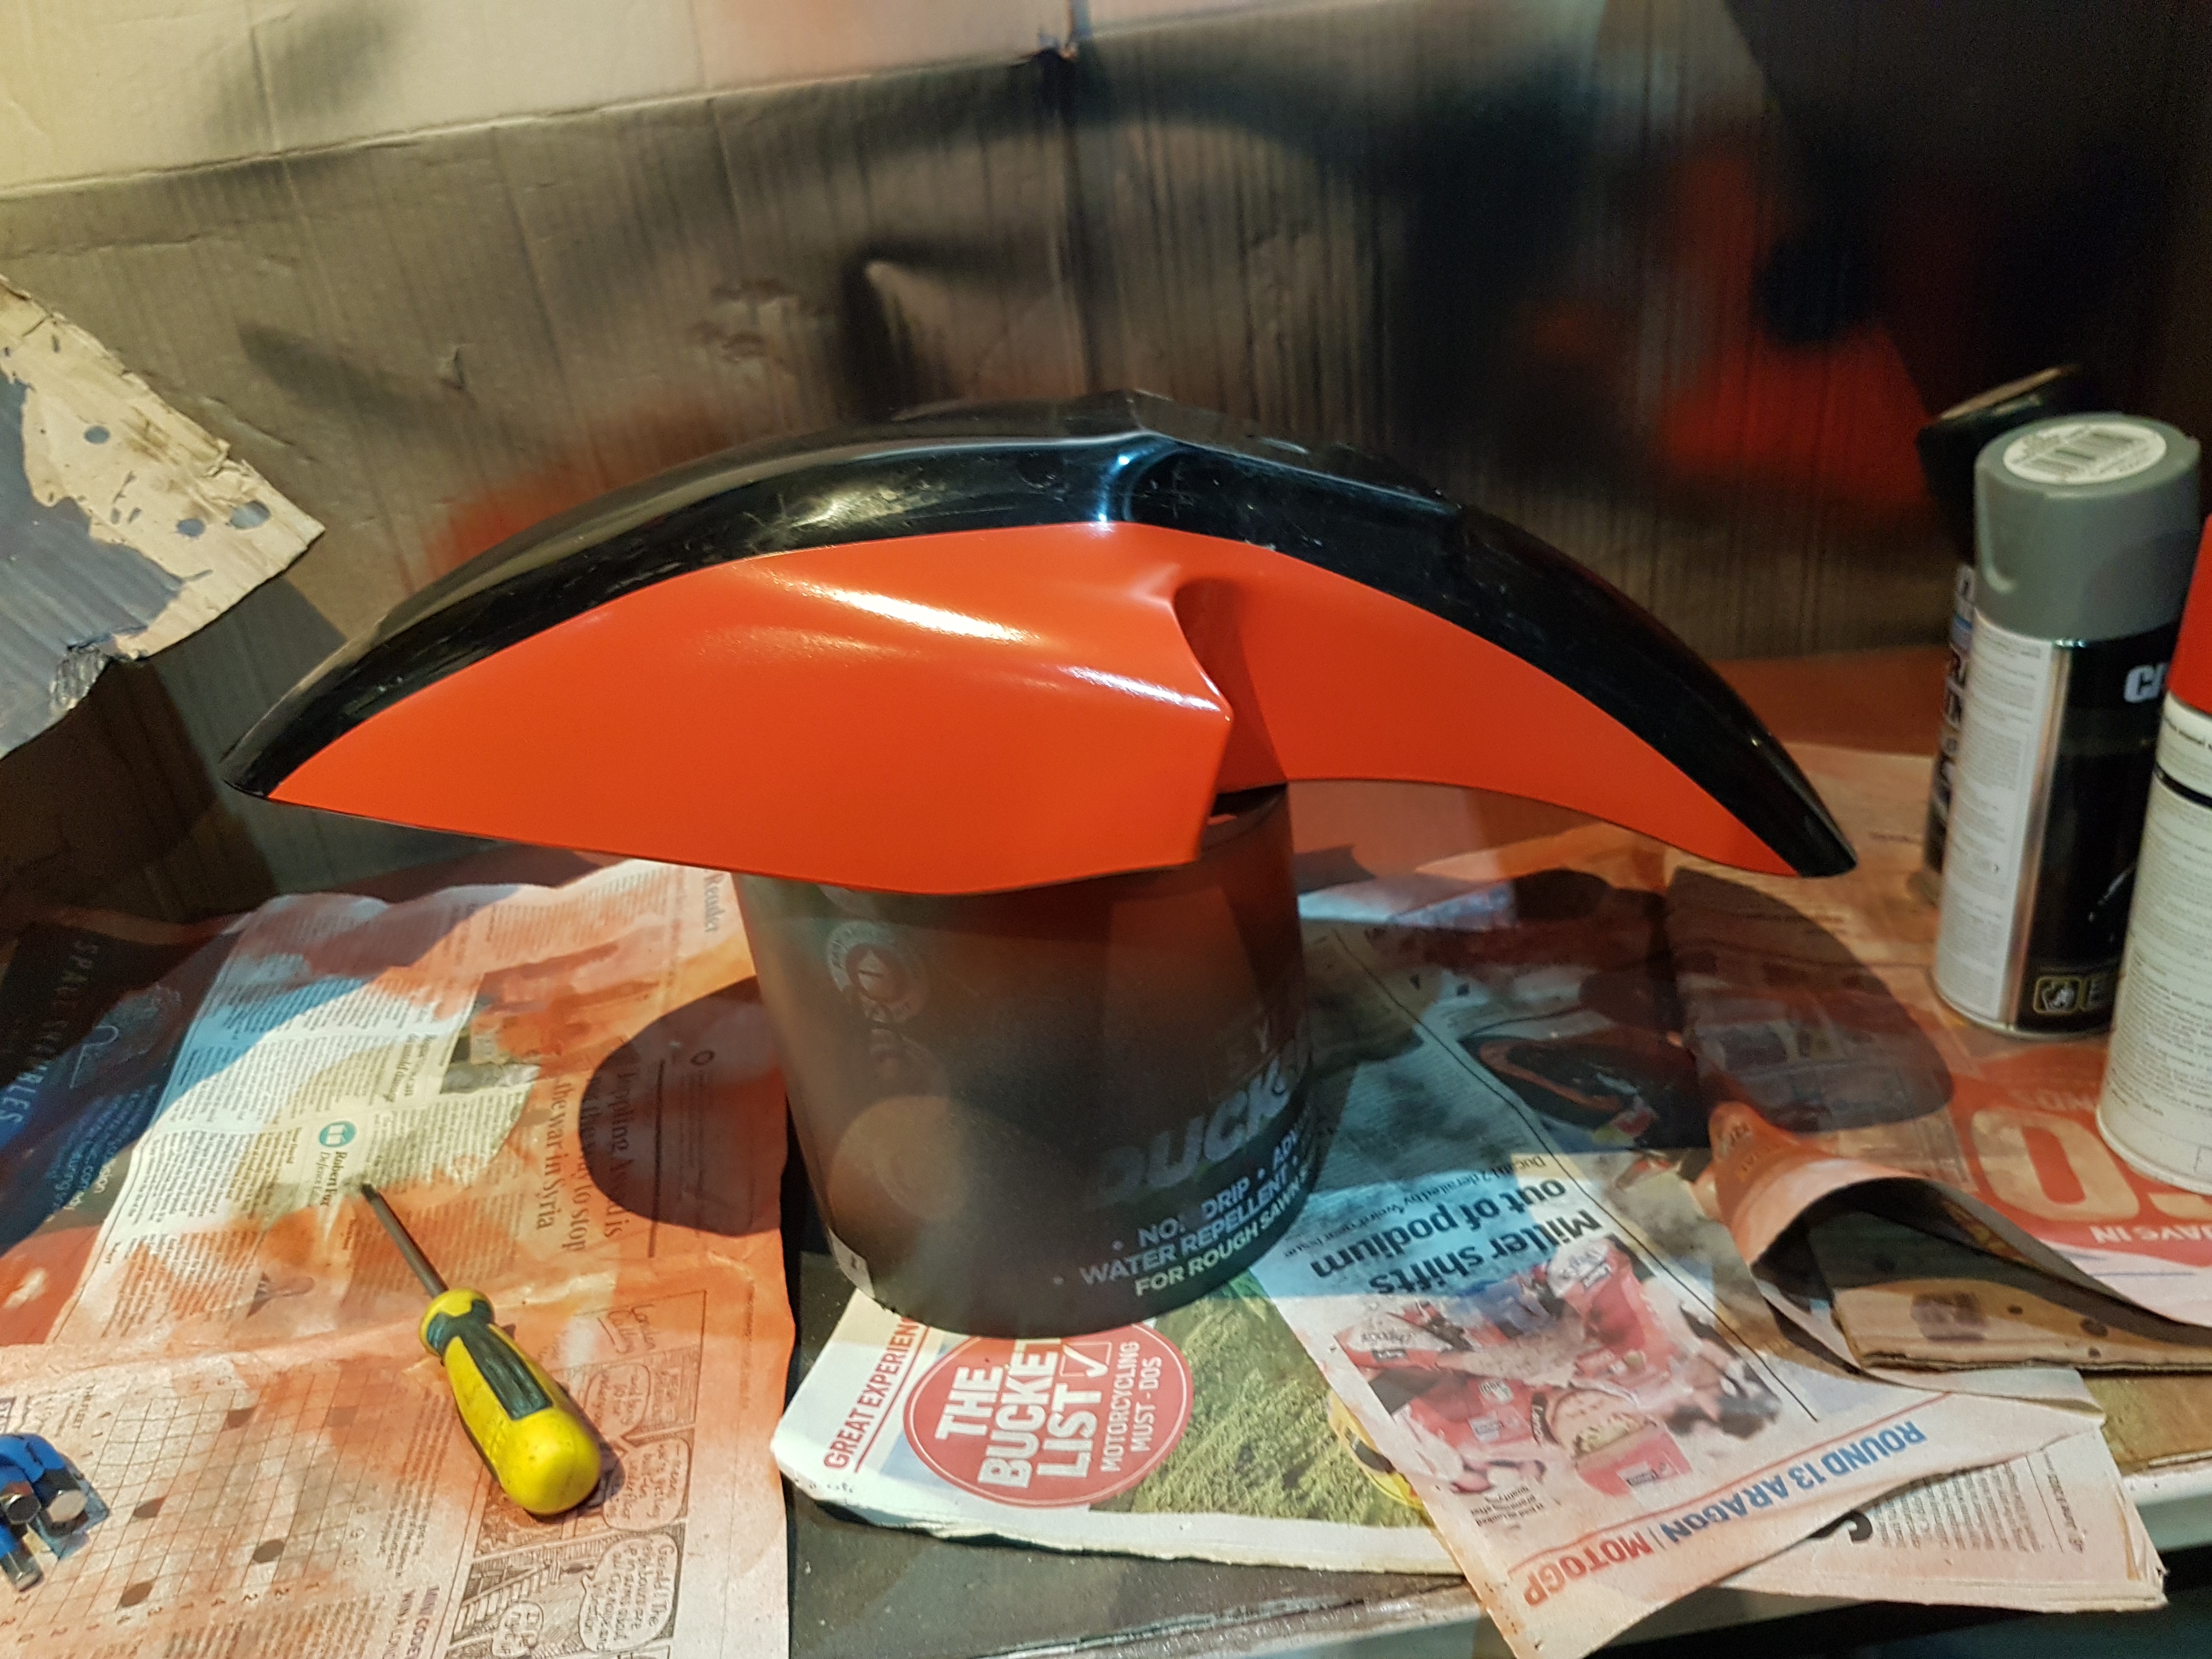

I’ve used stick on pinstriping, but I think if I did it again, I’m now confident to be able to paint them on, having watched an episode of Henry Cole’s programme Shed and Buried, which included a professional paint shop, and how to do it properly using paint layers.
You just need top quality thin masking tape, mine was intended for modelling.
